


Money is tight this year, at least for myself, and homemade gifts are always a great sentiment to the ones you love! I'm going to be making some homemade beauty products for my friends and family and wanted to share these "recipes" with you! They are awesome alternatives to store-bought products and with the right packaging can look even better than anything you find in-store.
Today we're going to look at homemade shave cream inspired by PopSugar Beauty! I decided to use what I had in my home to make my own shave cream! This one is for myself personally, but I'm going to replicate it with other scents/flavors for my friends according to smells they like! Enjoy!
What You'll Need:

STEP 1:

First thing first! Measure out 1/2 cup shampoo and pour it into your container. I chose a mason jar just like the ladies at PopSugar Beauty for the vintage homemade look and feel. You can find them individually for $1.49 at Michael's or in bulk! Try any craft store and even Walmart in the kitchen aisles.
* Go green: save that pasta sauce jar or that old candle with the lid! They make perfect containers to reuse! *
STEP 2:

Measure your 1 and a half cup of conditioner and pour into the jar. Trust me, this COULD get messy. You're not alone if it does. ;)
Want it thicker? Add more conditioner!
Want it thinner? Add more shampoo!
STEP 3:
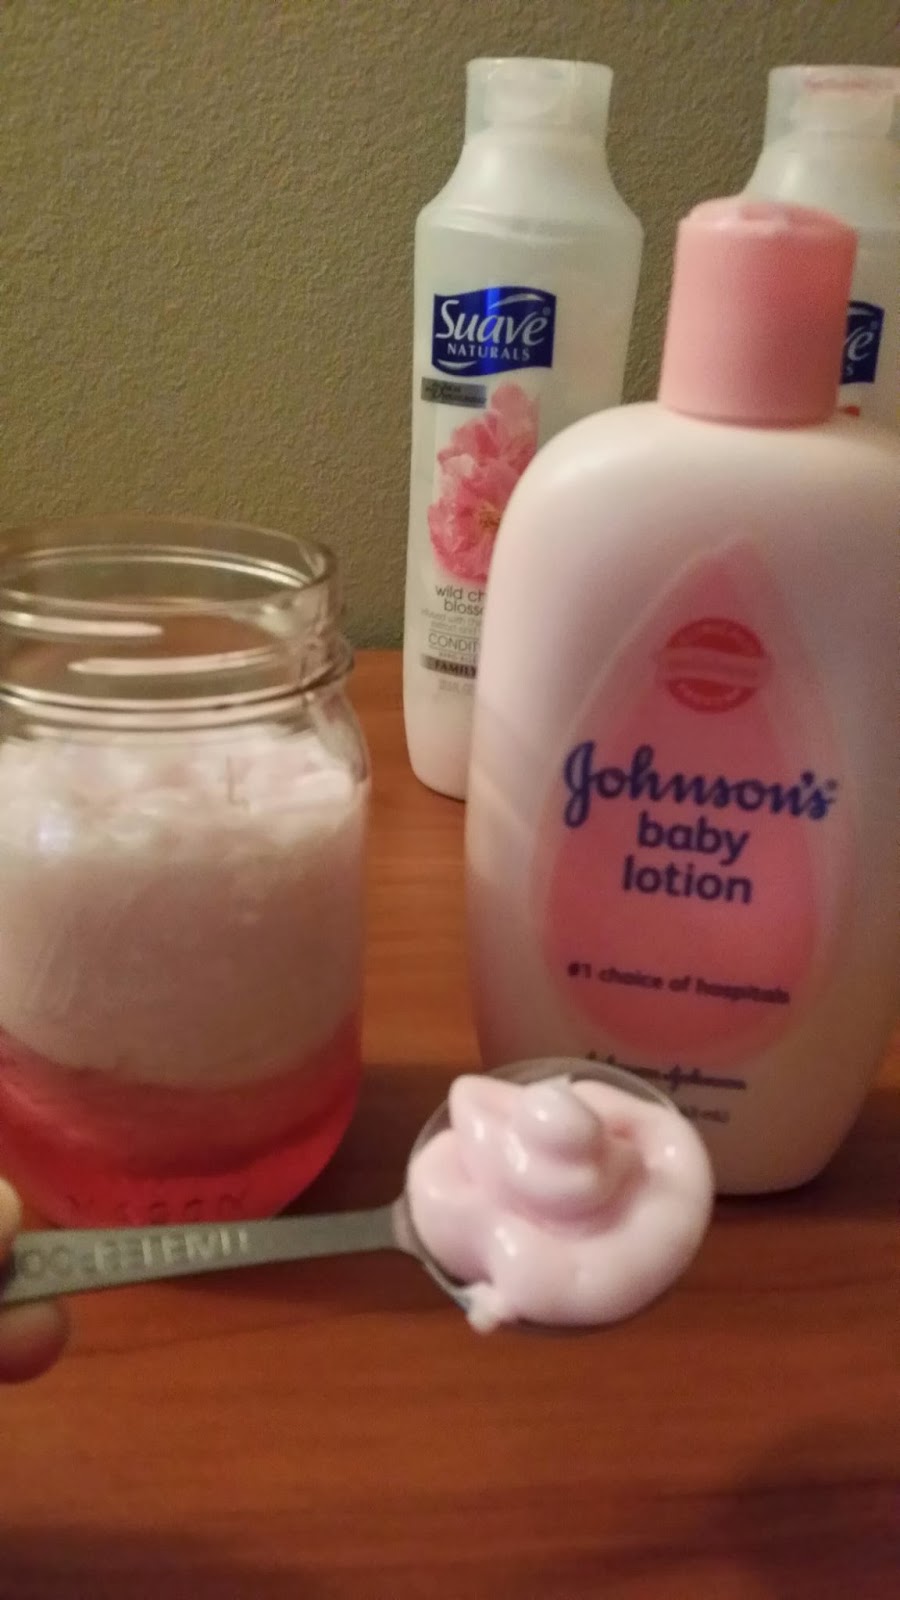
Use 5 tablespoons of whatever lotion you'd like! I used the baby lotion because a.) I like the smell b.) it was on hand c.) it's affordable and d.) it makes your skin super soft! You can use unscented lotion, blue green or purple lotion, cocoa butter lotion, WHATEVER YOU WANT! Try to find a coordinating scent though to your shampoo/conditioner or it could get a little wonky. Imagine... strawberry shampoo and men's musk lotion - doesn't sound too appealing. ;)
STEP 4:

It looks so pretty all layered! Lastly we'll be adding in our melted coconut oil. You can use any oil as long as it is in liquid form. Olive oil and jojoba oil are awesome alternatives! Coconut oil has great skin moisturizing properties so I chose that. Make sure it is melted though and not in cold pressed form to make for easier mixing.
STEP 5:

Shake it up! Put the lid on securely and shake that puppy up! Make sure it is all mixed evenly. It should turn out something like...

this! Once it's mixed all up, you'll want to carefully remove the lid again and clean it off.
STEP 6:

Make sure your pump is short enough to fit in the jar. I measured mine like this on the outside of the jar which wasn't too great of an idea as once I put it inside it was a bit too long. So we'll worry about measuring once the pump is assembled. Also, I just saved the pumps from my bathroom soaps, ran water through them, and let them dry before using. Easy recyclable! :)
STEP 7:

* BE CAREFUL NOT TO CUT YOURSELF, PLEASE! *

You want to carefully punch a hole into your lid (I used a screw driver) and SLOWLY SLOWLY SLOWLY start to peel it back with your pliers to make it big enough to fit the pump. Keep checking the pump to make sure you don't make too big of an opening. Once done, bend the jagged edges back and flatten them out for safety reasons. :)
STEP 8:

Once your lid fits in the opening you'll be ready for the hot glue! I used some Scotch tape to position the top where I wanted it so it didn't twist or turn when I applied my hot glue. Just take a few pieces of tape and tape that clear twisty part to the top if the lid to hold it in place. (I did this because I wanted those swirls on the lid towards the front. If you have a plan lid, you won't need to worry about taping it down.)
STEP 9:

You will want to COVER that lip with glue! I used a hi-temp glue gun and made a ring of glue from the inside of the lid opening going upward. I didn't want it to drip into the top of the lip for appearance reasons. So I built the glue up almost in an ice cream twist pattern.

This doesn't need to be neat at all! This part is in the mixture and on the inside of the jar and no one will see! Just make sure to completely cover the jagged rough edged so no one gets cut & make sure the plastic pump is securely adhered to the lid. Seal it completely to prevent water from getting into the pump mechanism.
STEP 10:

* MAKE SURE THE HOT GLUE IS 100% DRY AND COOL BEFORE THIS STEP! *
Put on your pump and make sure it fits. If not, pull it out, wipe it off, and cut the tip until you have it just barely touching the bottom of the jar. When you cut the straw make sure to cut on an angle and not flat to ensure your product will pump correctly.
Tah-Dah!

Here it is! An adorable mason jar homemade shave cream! Tie it off with a ribbon, add a tag with a label and you've got an adorable homemade beauty product for your loved ones! I chose twine and a cardstock label for a country flair.
SHOW ME YOUR CREATIONS! Tag my Instagram with the hashtag #cupcakeblondie so I can see your amazing homemade gifts! I love you all! Keep an eye out for MORE DIY beauty products coming up! Also... Congratulations on making it this far through the article! I'll be posting in a separate blog post this evening OR tomorrow (Wednesday) the steps on how you can be entered to win homemade beauty products from me! Stay tuned - it will be up before you know it. ;)
xo K
No comments:
Post a Comment